Have you ever made chutney that turned out too sharp or oddly bland? Or maybe it never thickened the way you expected. You’re not alone. A lot of home cooks struggle to get that perfect balance of sweet, tangy, and gently spiced flavor. This guide walks you through a reliable, comforting way to make a classic British preserve at home. It’s simple, flexible, and surprisingly forgiving once you understand a few key details.
What Is Mary Berry Pear Chutney?
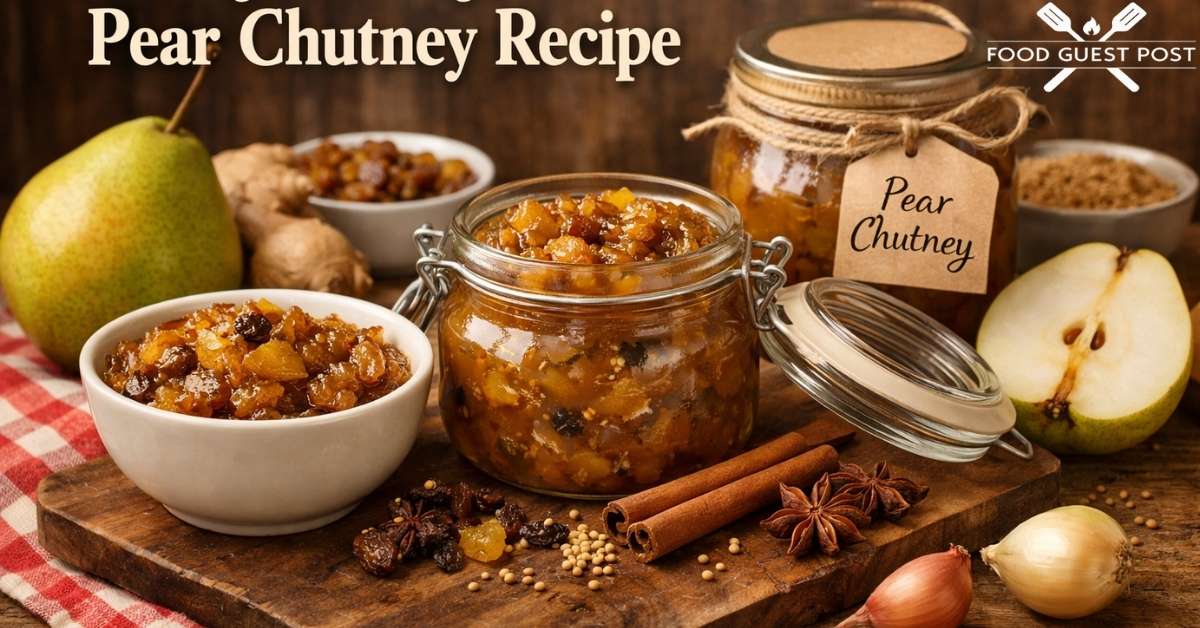
Mary Berry Pear Chutney is a traditional chutney recipe rooted in British kitchen culture. It blends ripe pears with vinegar, sugar, onions, and warm spices to create a sweet and sour chutney that develops deeper flavor over time.
Think of it as more than just a condiment. It’s a slow cooked chutney that transforms simple fruit into a rich, spiced pear condiment. The texture is usually thick and slightly chunky, making it perfect for spreading or spooning over savory dishes.
Why This Recipe Is Worth Trying
This isn’t just another pear chutney recipe. It’s practical, adaptable, and genuinely useful in everyday cooking.
Here’s why you’ll keep coming back to it:
- It works as a make ahead chutney that tastes better after a few days
- The ingredients are simple and easy to find
- You can tweak sweetness or spice without ruining the batch
- It pairs beautifully with cheese, meats, and even sandwiches
Also, if you enjoy homemade fruit chutney, this one hits that perfect middle ground. Not too sweet, not too sharp.
Essential Ingredients to Make Mary Berry Pear Chutney
A good chutney starts with balance. Each ingredient has a job to do.
- Pears: Ripe but firm. They hold shape and add natural sweetness
- Onions: Bring depth and a slight savory edge. Essential for pear and onion chutney
- Vinegar: Adds acidity. A key part of chutney with vinegar and sugar
- Sugar: Balances the sharpness and helps preserve the chutney
- Spices: Ginger, cloves, or cinnamon for warmth
- Raisins or sultanas: Optional, but they add texture and richness
These are classic ingredients for traditional pear chutney. Nothing fancy, just well-chosen.
Handy Kitchen Tools for Best Results
You don’t need a professional setup, but a few tools make life easier:
- Heavy-bottomed pan for even cooking
- Wooden spoon for stirring
- Sharp knife for clean cuts
- Sterilised jars for storage
If you’ve ever wondered how to sterilise jars for chutney, it’s simple. Wash them well, then heat in the oven until completely dry.
Step-by-Step Guide to Making Mary Berry Pear Chutney
This is where everything comes together. Start by peeling and chopping your pears into small chunks. Dice the onions finely. Add everything into a large pan with vinegar, sugar, and spices. Bring it to a gentle boil, then reduce the heat. Let it simmer slowly. This is the heart of chutney cooking time and method. You’re aiming for a thick, glossy texture. Stir occasionally to prevent sticking.
If you’re asking how long to cook chutney until thick, expect around 45 to 60 minutes. It depends on moisture levels. You’ll know it’s ready when a spoon dragged across the pan leaves a clear path. Right around this stage, you’ll see the magic of Mary Berry Pear Chutney come alive. The aroma deepens. The texture thickens. Everything just clicks.
What I Got Wrong (And How I Fixed It)
The first time, the chutney tasted too sharp. Almost harsh. The issue? Too much vinegar, not enough sugar. Here’s how to fix common mistakes:
- Too sharp: Add a little more sugar and let it cook longer
- Too runny: Keep simmering. Use tips to thicken homemade chutney like longer reduction
- Too sweet: Add a splash of vinegar to rebalance
Learning how to balance sweet and sour chutney is what separates average from great.
Healthier Version of Mary Berry Pear Chutney
Want a lighter option? You can reduce the sugar slightly and rely more on the natural sweetness of pears. Use less dried fruit and skip overly sugary additions. It won’t last as long as a classic British chutney preserve, but it still works well for short-term use.
Read More: Easy Mary Berry Cheese Scones Recipe
Ingredient Substitutions for Mary Berry Pear Chutney
Flexibility makes this recipe even better.
- Swap white sugar with brown sugar for deeper flavor
- Use apple cider vinegar instead of malt vinegar
- Add apples for a twist on an autumn preserve recipe
- Skip raisins if you prefer a cleaner texture
These small tweaks let you create your own version without losing the core identity.
Pairing Ideas: What to Serve With Mary Berry Pear Chutney
This is where things get fun. If you’re wondering what to serve with pear chutney, here are some easy ideas:
- Cheese boards with cheddar or brie
- Crackers for a quick snack
- Cold meats like ham or roast beef
- Sandwiches or wraps
It’s easily one of the best chutney for cheese and crackers options out there. Also works brilliantly as chutney for cold meats during festive meals.
Expert Tips to Make Perfect Mary Berry Pear Chutney
A few small tips can change everything:
- Always cook on low heat once boiling starts
- Stir regularly to avoid burning
- Taste as you go and adjust seasoning
- Let it mature for a few days before eating
If your chutney tastes off, don’t panic. Understanding why chutney tastes too sharp helps you fix it quickly.
Creative Ways to Customize Mary Berry Pear Chutney
Want to make it your own?
- Add chili flakes for heat
- Mix in orange zest for brightness
- Use different spices for a unique profile
You can even turn it into a chunky fruit chutney by cutting larger pieces.
This is where creativity meets comfort cooking.
Storing Mary Berry Pear Chutney the Right Way
Storage matters more than you think.
- Always use sterilised jars
- Store in a cool, dark place
- Let it sit for at least a week before opening
If done right, this homemade fruit chutney can last for months. Wondering how to store homemade chutney safely? Airtight jars and proper sealing are key.
How to Reheat Mary Berry Pear Chutney (If Needed)
Chutney is usually served cold or at room temperature. But if you prefer it warm, gently heat it in a pan. Avoid microwaving for too long. It can affect texture. A quick reheat brings back aroma without ruining the consistency.
Nutritional Breakdown (Per Serving)
Approximate values per tablespoon:
- Calories: 40 to 60
- Carbohydrates: 10g
- Sugar: 8g
- Fat: 0g
It’s a small addition, but it adds big flavor.
Mary Berry Pear Chutney Recipe
Ingredients
- 1 kg pears, peeled and chopped
- 2 onions, finely chopped
- 250 g sugar
- 300 ml vinegar
- 1 tsp ground ginger
- 1 tsp mixed spice
- 100 g raisins
Instructions
- Add all ingredients into a large pan
- Bring to a boil, then reduce heat
- Simmer gently, stirring often
- Cook until thick and glossy
- Pour into sterilised jars and seal
This step by step chutney recipe guide keeps things simple and consistent.
Did you make this recipe?
If you tried it, you probably noticed how the flavor improves after a few days. That’s normal. It’s part of how to improve chutney flavour over time.
FAQ’s
How to make pear chutney at home?
Cook chopped pears with vinegar, sugar, onions, and spices until thick and glossy.
Can you freeze pear chutney?
Yes, but texture may change slightly. Use airtight containers.
How long does chutney last?
Properly stored, it can last several months unopened.
Why is my chutney too runny?
It likely needs more cooking time. Let it reduce further.
What makes chutney taste better over time?
The flavors mature and blend, creating a deeper, richer taste.

Logan Reid is a food content strategist passionate about digital storytelling and SEO growth. With years of culinary and marketing experience, he helps food bloggers and brands boost visibility through authentic, data-driven strategies. His work blends creativity, expertise, and trust, making every collaboration a recipe for lasting online success.